Beat the Heat with a DIY Homemade Ice Cream Party!
I scream, you scream, we all scream for…HOMEMADE ICE CREAM!
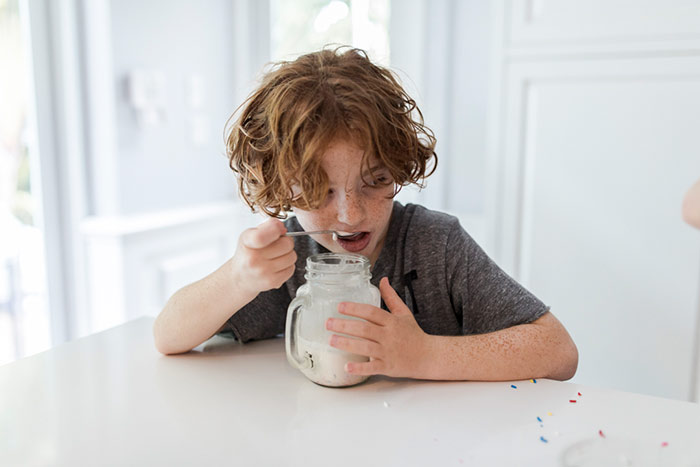
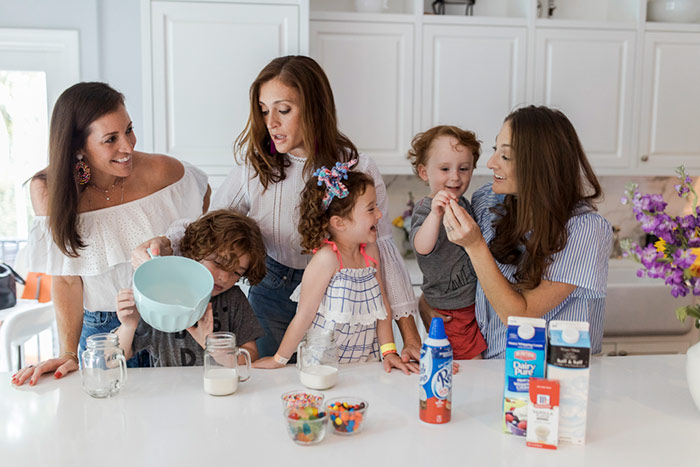
There is nothing that screams summertime more than ice cream. Here in South Florida, the only way to the beat the heat is with popsicles and sundaes. Luckily, all our “freckled” children share a passion for ice cream. My sisters and I love to take the kids to the ice cream store. It is an easy field trip and an instant crowd pleaser. Their favorite part seems to be picking out their own toppings. So today we’re showing you how to make DIY homemade ice cream mixed with your very own favorite toppings just like your local ice cream store does it!
This method is a super cute and easy way to make homemade ice cream with your kids. They can pick out all their favorite toppings and mix them all together. It is easy enough for the younger kids to do but engaging enough for older kids as well, including the adults! The best part is that there is very little clean up – well, besides the part where you eat your work! This idea is also a cute idea for a summer birthday party or after camp play date. Enjoy!
What you need:
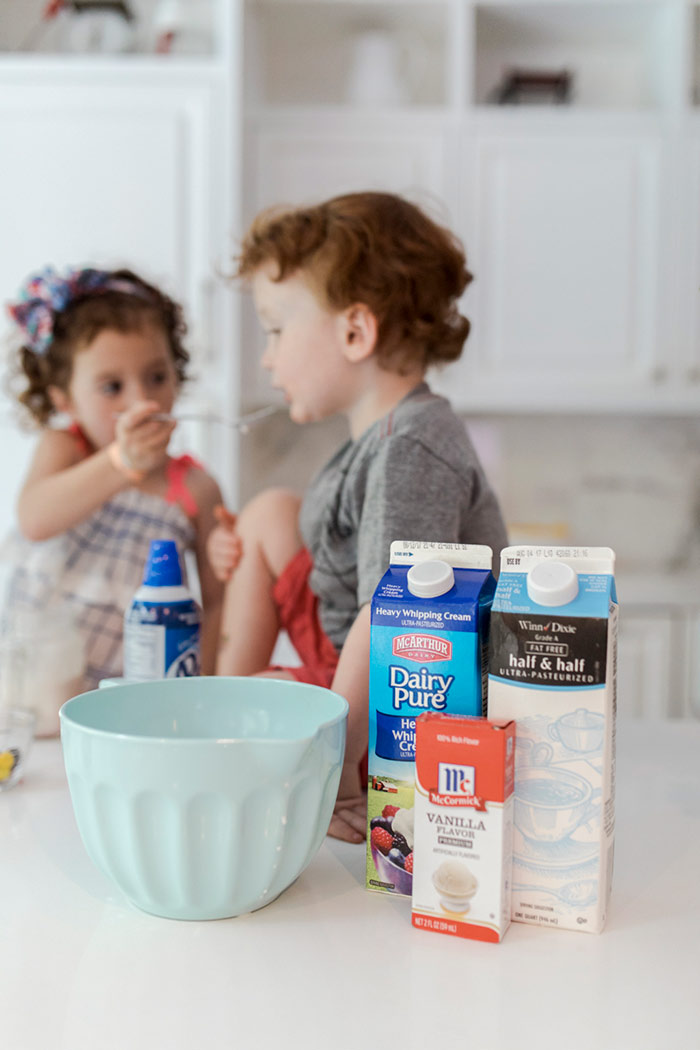
- Mason Jars with tops
- 1 cup heavy whipping cream
- 2 teaspoons white sugar
- 1/2 teaspoons vanilla extract
- Pinch of salt
- Toppings galore
What To Do:
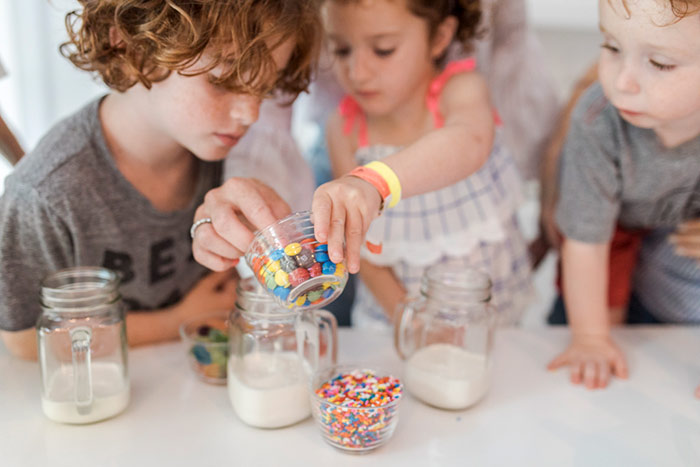
- Combine the cream, sugar, vanilla, and salt into the mason jar. Make sure to secure the lid tightly.
- Under supervision, let the kids shake the mason jars until the cream starts to thicken. It usually takes about 3-4 minutes. You should be left with a slightly thicker consistency.
- Let your children add all their favorite toppings to the mason jar.
- Place in the freezer for about 1 hour.
- When the consistency is a little harder but you’re still able to stir, mix the toppings around so they do not settle on the bottom.
- Freeze for another 2 hours or until your ice cream has hardened.
Our kids ate it straight out of the mason jars, but you can scoop it out, add extra toppings, and serve!
Other Tips and Tricks for Making Homemade Ice Cream:
For the Advanced DIY Mom
We actually started this DIY attempting to make ice cream in a ziplock bag. But I only recommend this method if your kids are a little older. In order for the ice cream to harden, it takes 15 minutes of shaking the bags. It was too hard and cold for the little ones to shake, so it became my job. After about 10 minutes, my arms were tired, and the ice cream still was not hard enough.
For the Health Conscious DIY Mom
I have to admit that as fun as the homemade ice cream is, the aftermath of the sugar crash and temper tantrum was not. The quickest way to avoid this is to switch the toppings to different fruit toppings. Of course, you can substitute the heavy whipping cream for a low fat alternative and change out the sugar for all natural sweetener.
Or you can nix the ice cream and opt for these delicious (and nutritious!) DIY popsicles instead!
For the Teacher in All of Us
There are so many hidden science lessons in DIY homemade ice cream. For the toddlers, it is great way to introduce the different states of matter, the differences between liquids and solids, and how temperature changes the consistency. For the older children, I definitely recommend trying the DIY ice cream in a bag. It is an incredible way to talk about freezing points and how salt changes the temperature at which water will freeze. Trust me, you don’t need to be a scientist or teacher to get your kids excited about science and learning. There are so many resources out there that provide fun and easy experiments with corresponding teaching points. I love this one from science buddies. They have all sorts of other fun projects, too!
